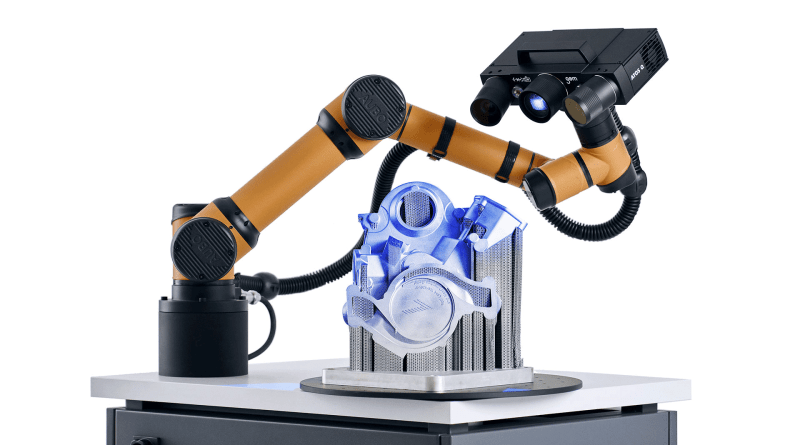
- The article addresses the evolving requirements in part quality assessments within manufacturing processes, emphasizing the need for precise geometric dimension checks and comprehensive documentation.
- Tactile measurement technology, characterized by its use of Coordinate Measuring Machines (CMMs), is revered for its high absolute accuracy, making it the preferred choice for measuring high-precision parts.
- The author also discusses the emerging trend of hybrid measuring systems that combine tactile and optical measurement technologies.
The article addresses the evolving requirements in part quality assessments within manufacturing processes, emphasizing the need for precise geometric dimension checks and comprehensive documentation. It introduces a critical decision-making process for acquiring new 3D measuring systems—choosing between tactile and optical measurement technologies. Tactile 3D systems, which employ measuring probes to capture relevant points, are contrasted with optical 3D systems that digitize surfaces contactless. The discussion extends to applying these technologies in the automotive industry, highlighting their basic functions, advantages, and differences.
Tactile measurement technology, characterized by its use of Coordinate Measuring Machines (CMMs), is revered for its high absolute accuracy, making it the preferred choice for measuring high-precision parts. These systems can achieve accuracy to a thousandth of a millimeter, a level of precision yet attainable with optical 3D measurement technology. However, tactile measurement’s significant time investment for capturing high data densities and its limitation to point-based data acquisition are noted as drawbacks. These systems often need to be more suitable for complete checks in production due to the extensive time required and the impracticality of placing many CMMs directly in production environments.
Optical measurement technology offers a rapid and full-field acquisition solution that avoids contact with the object’s surface, preventing potential damage and wear. This technology is suitable for applications with acceptable accuracy within a hundredth-millimeter range. It is particularly useful in automotive industry applications, enabling fast digitization of complex workpieces and facilitating full-field nominal-actual comparisons, GD&T checks, and identifying problematic areas for manufacturing process improvement. However, challenges with high-gloss, reflecting, or translucent parts may require surface preparation for accurate scanning.
The author also discusses the emerging trend of hybrid measuring systems that combine tactile and optical measurement technologies. These systems aim to leverage the strengths of both methods, allowing for accelerated measurements and the ability to measure touch-sensitive surfaces or parts with complex geometries that are difficult to capture optically. The integration of these technologies underscores the importance of selecting a measuring system with an accuracy that exceeds the highest required tolerance by a significant factor, ensuring reliable and precise dimensional inspection in manufacturing processes.


Leave a Reply
You must be logged in to post a comment.